Tutorial
Build your first map from scratch.
Create personas
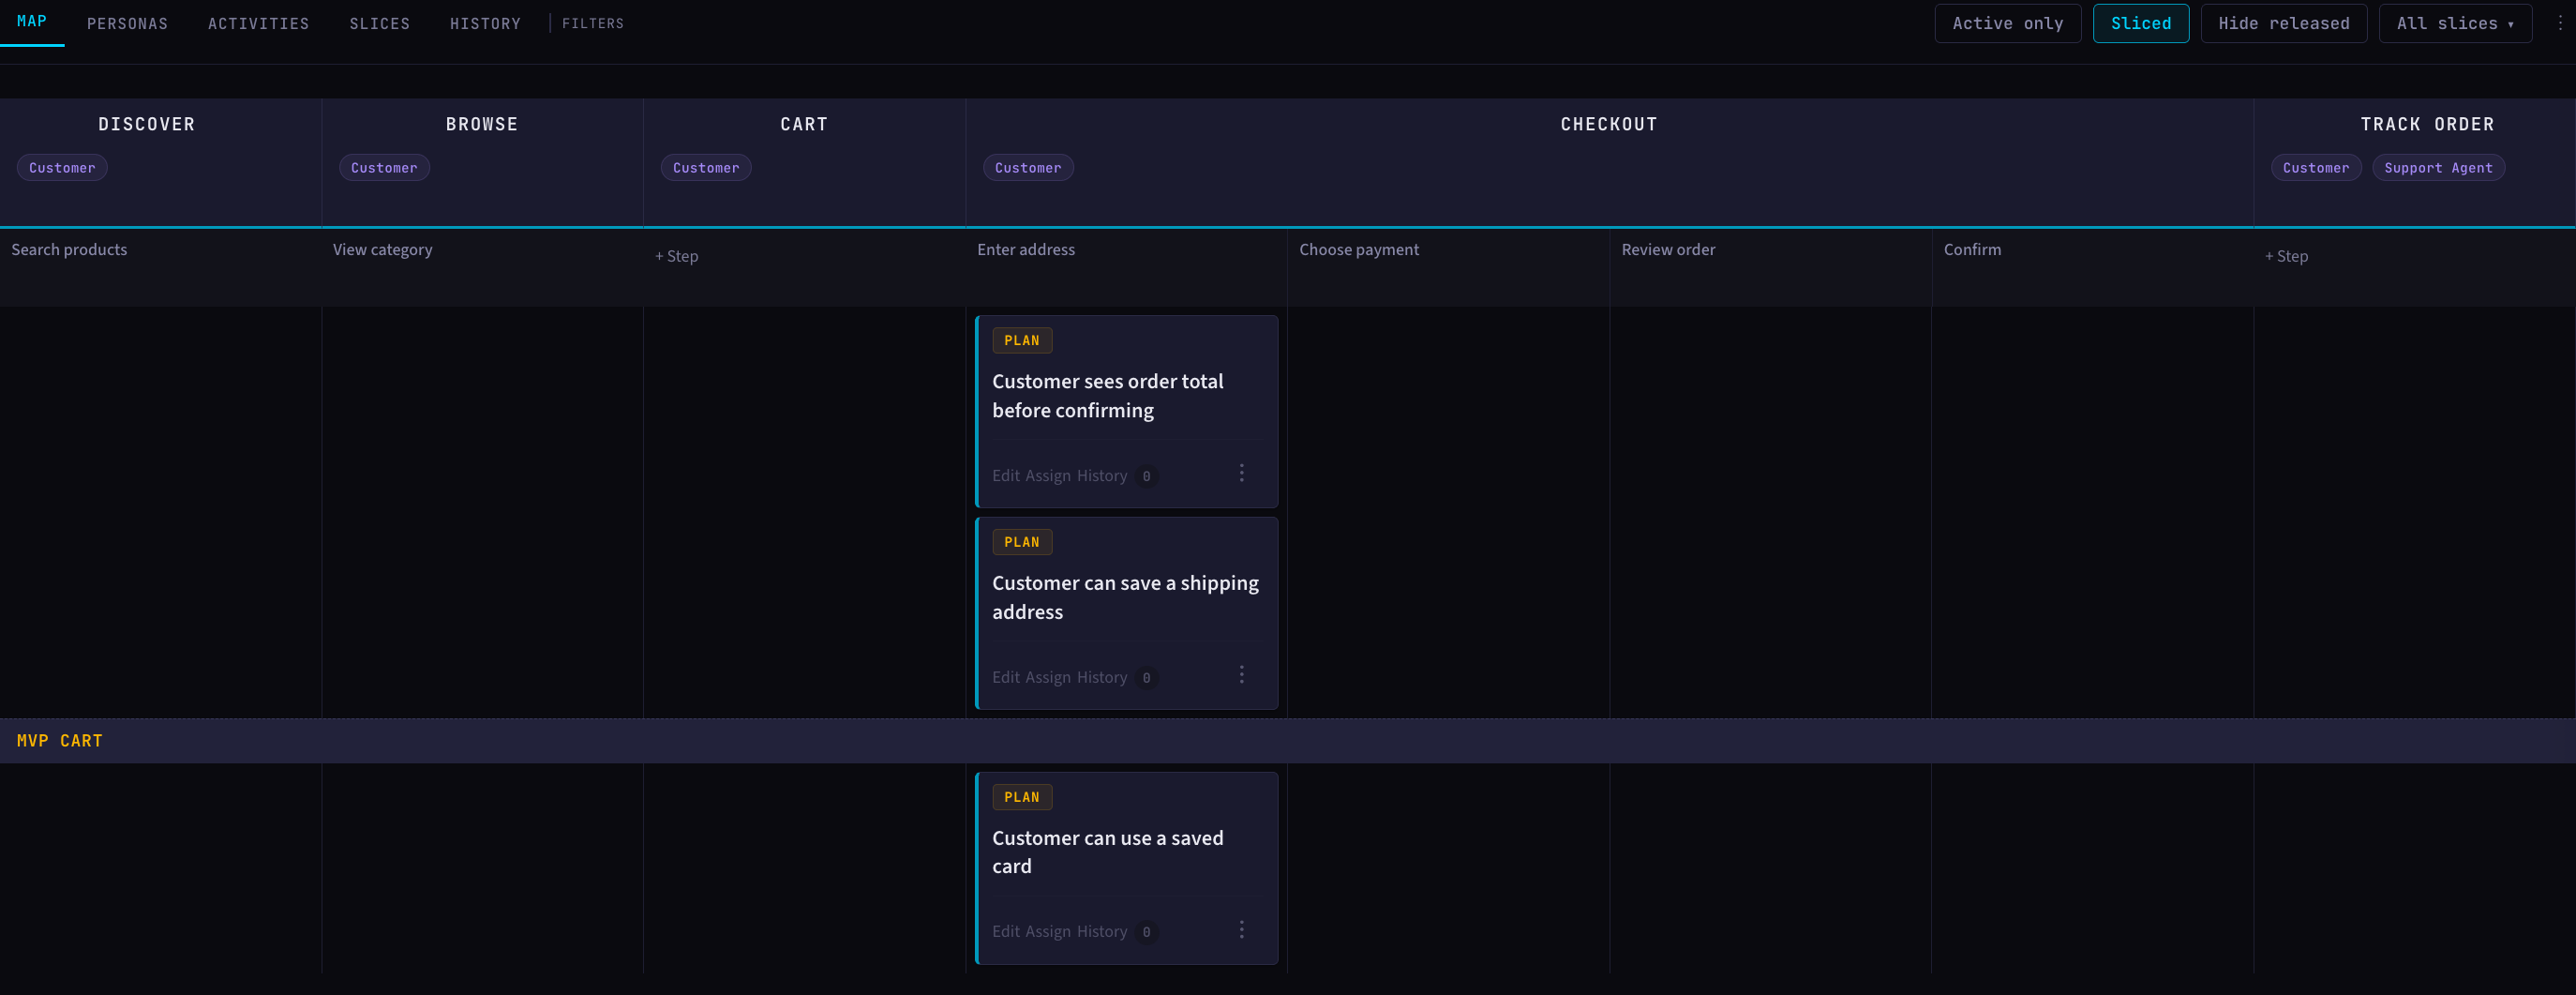
Think about who uses your product. A persona is a role, not a name, e.g. "Customer", "Support Agent".
Every activity on the map belongs to at least one persona. If you cannot assign a persona to an activity, ask yourself: who benefits from this work? If the answer is nobody, don't build it.

Lay out activities
Activities are what your personas do. They form the backbone of the map, reading left to right like a user's journey through the product.
For an e-commerce product, a Customer's activities might be: Discover → Browse → Cart → Checkout → Track Order. Keep them broad. You are describing what the user does, not how the system works. Add activities for each persona, then arrange them in the order the user experiences them.

Break down steps
Each activity breaks down into steps, in the order someone takes them. Under "Checkout" you might have: Enter address, Choose payment, Review order, Confirm.
Steps sit below their parent activity on the map. Don't overthink these. They are organisational, not deliverable. You will not assign people to steps. You assign people to stories.

Write stories
Stories are the work. Each story sits under a step and delivers a thin vertical slice of value.
Write from the user's perspective. "Customer can save a shipping address for next time" not "Add address CRUD." If you cannot explain who benefits and why, the story is not ready to write yet.
Keep them small. A story should be something a pair can pick up, finish, deploy, and release without it dragging on. Mainline will flag stories that have been active longer than your team's historical cycle time - but that only works once you have history. For now, aim for stories you can finish in a day or two.
Bugs are stories too. "Customer sees stale price after updating quantity" belongs on the map under the activity where it happens. Tech work is a story framed as the user outcome it enables. Refactoring is not a card - it is how the pair writes code.
Slice a release (optional)
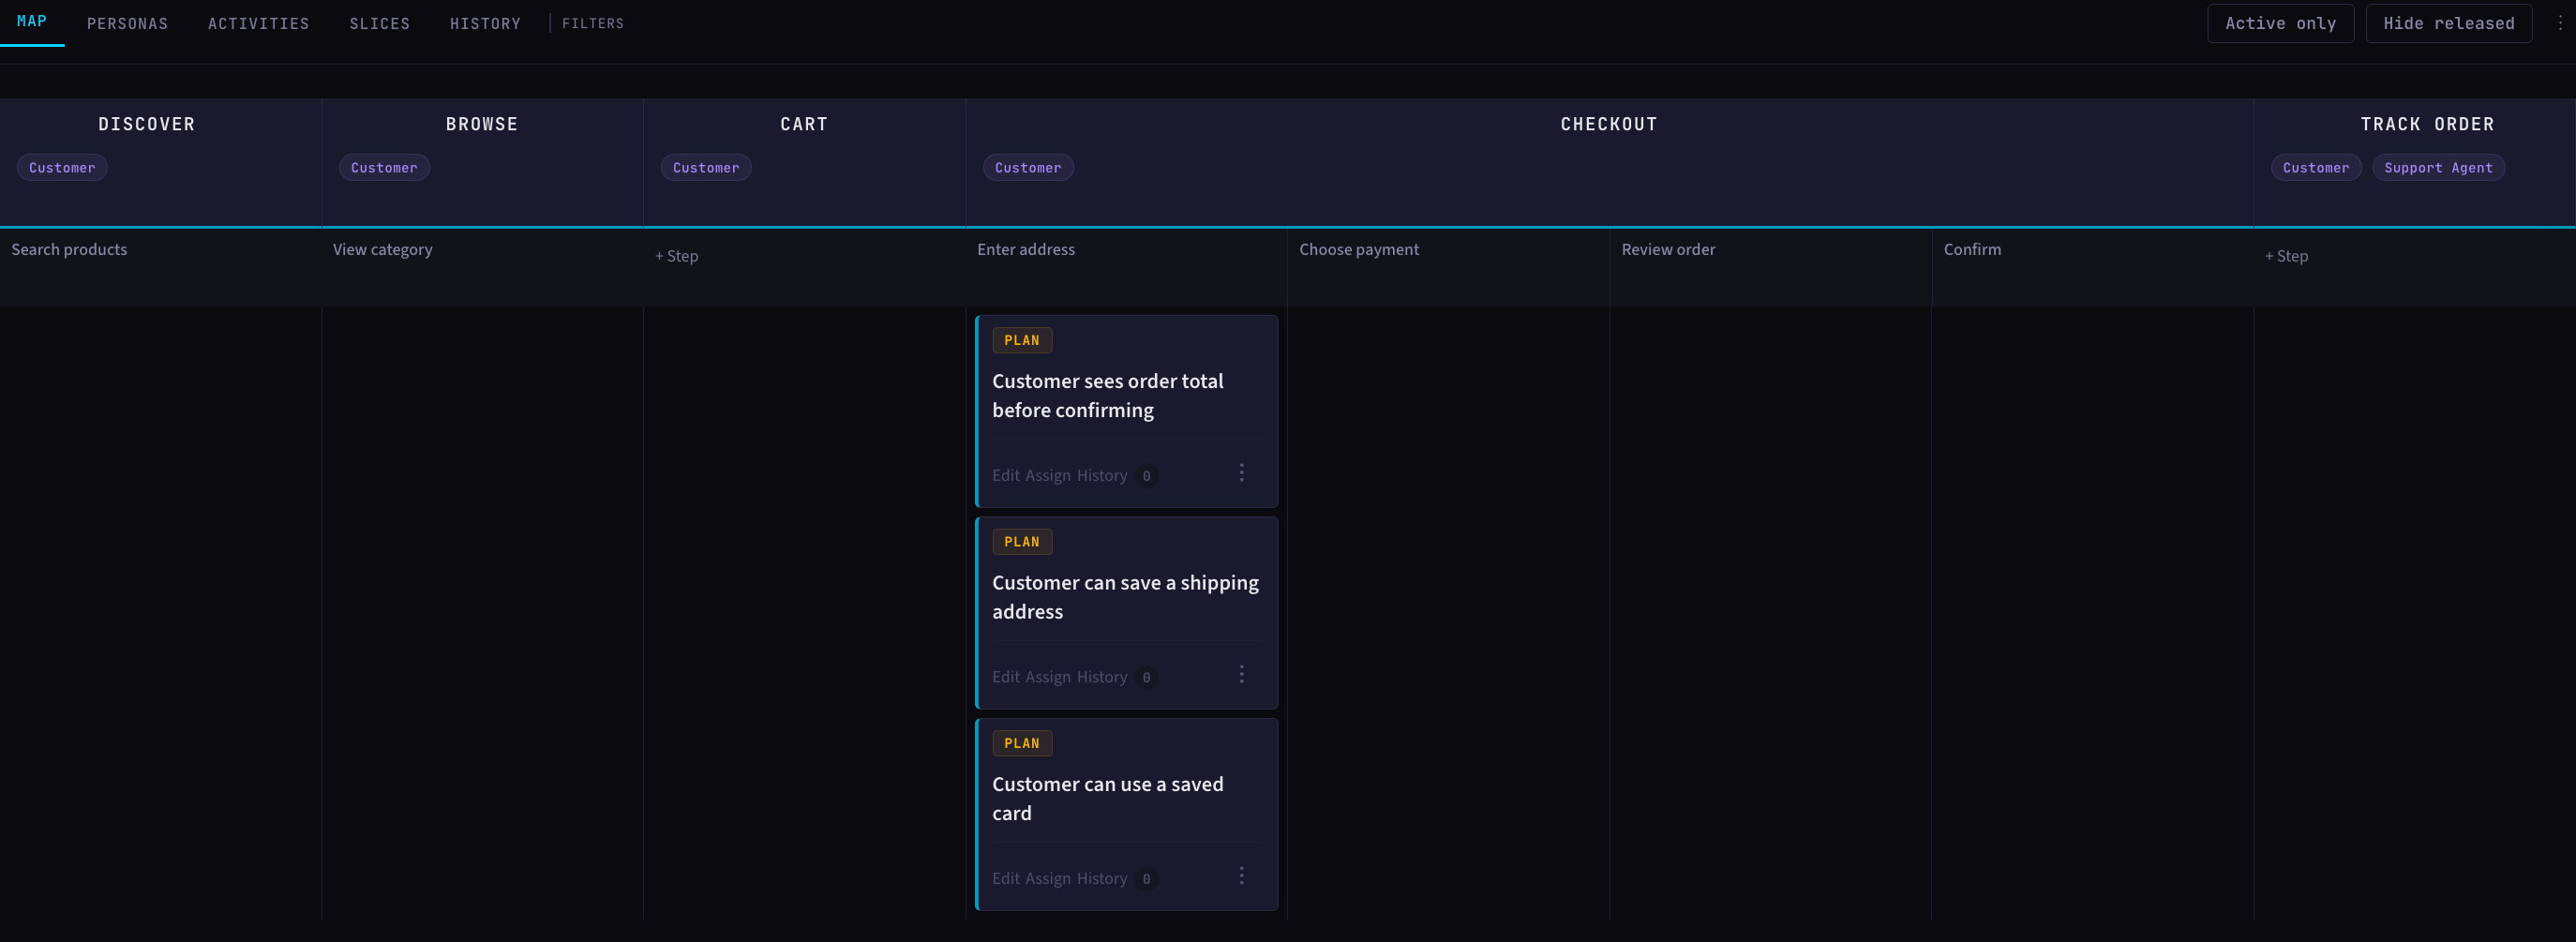
Release slices cut horizontally across the map. A slice is the smallest set of stories across activities that delivers a coherent, usable increment to the user. You can create slices while building the map or add them later once work is underway.
This is not a sprint - there is no time box. The slice is done when every story in it is released. Start with the thinnest slice that is still useful.
Start a story
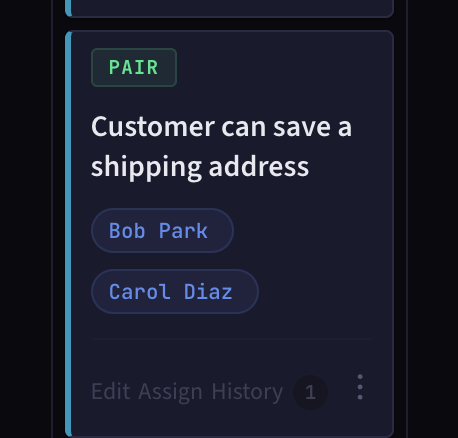
Pick a story and assign two people. The story becomes active when both are assigned - this is the kick-off moment where both people read the story, agree on what done looks like, and start together.
One person works on one story at a time. No spreading yourself across four cards. The Teamwork view tracks who has paired with whom.
Solo teams and solo kick-off
One-member teams work solo automatically. Every story is solo by default.
For larger teams that prefer to allow one person to start a story alone, solo kick-off can be enabled in Settings.
Deploy
When the code is in production, mark the story as deployed. This is a technical event - code reached production, but users may not have the change yet.
Optionally, configure a deploy webhook so deploys are recorded automatically from your pipeline.
If you deploy but do not release, the story appears in the Inventory view. It will age there - in flight for the first three business days, aging from four to nine business days, stale after ten. The goal is an empty inventory.
Release
When users can see the change, mark the story as released. This is a human decision, not a technical event. Deploy and release are separate actions because they are separate events.
If your team deploys directly to users, mark deploy and then release straight away.
Once a story is released, it is done. Users have the feature. Move on to the next story.
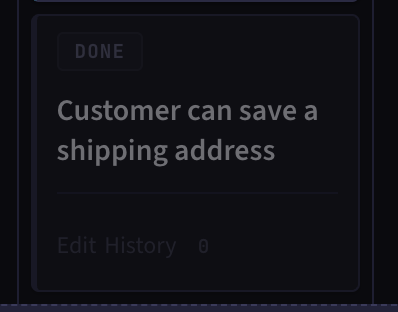
That is the full cycle: personas → activities → steps → stories → slice → start → deploy → release.
Now do it for real. Create a team →
Next: Story Mapping - the full reference for everything on the map.